Short answer
Start with a clear task and the measurements, choose a microcontroller and sensors, build the first version with development boards, add a cloud connection and a simple app, test in real conditions, then design the PCB and enclosure (often 3D-printed) and prepare the device for a small production run.
Stages
1. The task. What must the device measure or control, in what conditions, how often, and with what power supply?
2. Components. A microcontroller (often with Wi-Fi or BLE), sensors, power — a battery or mains.
3. The first prototype. With development boards, to check that the measurements and the connection work.
4. Software. The device firmware, sending data (for example, MQTT), the cloud part and an app or portal.
5. Tests in real conditions. Temperature, humidity, movement, connection drops.
6. PCB and enclosure. Schematic and board design, 3D modelling and printing, assembly.
7. A small production run and preparing for manufacturing.
Example
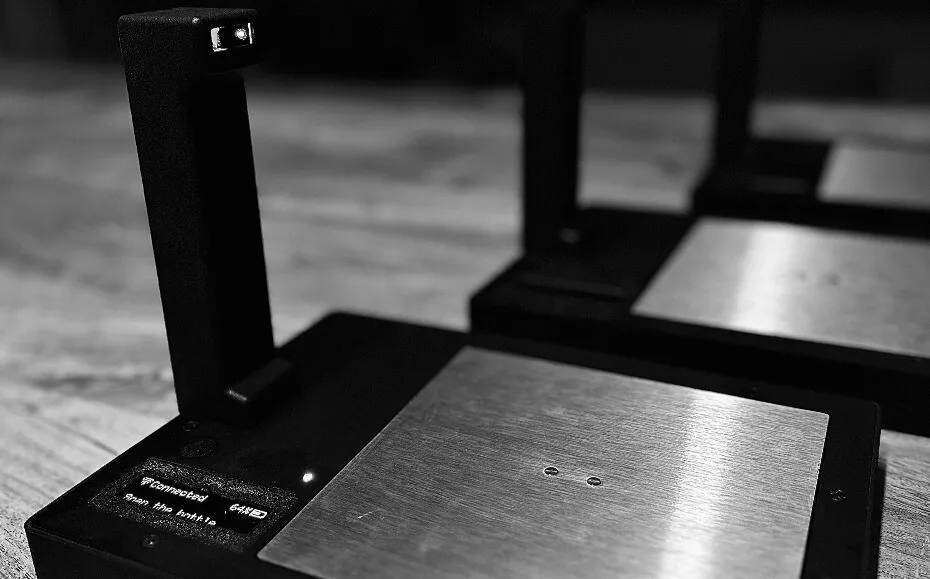
Barspector was our first commercial IoT project — from prototype to device, customer portal and a product that was sold.
Tip
Test the idea as cheaply and quickly as possible. A prototype with a 3D-printed enclosure shows whether the solution works before you invest in manufacturing. On costs: how much an IoT solution costs.